Free 3D Cookie Cutters: Print Your Own Custom Biscuit Cutters
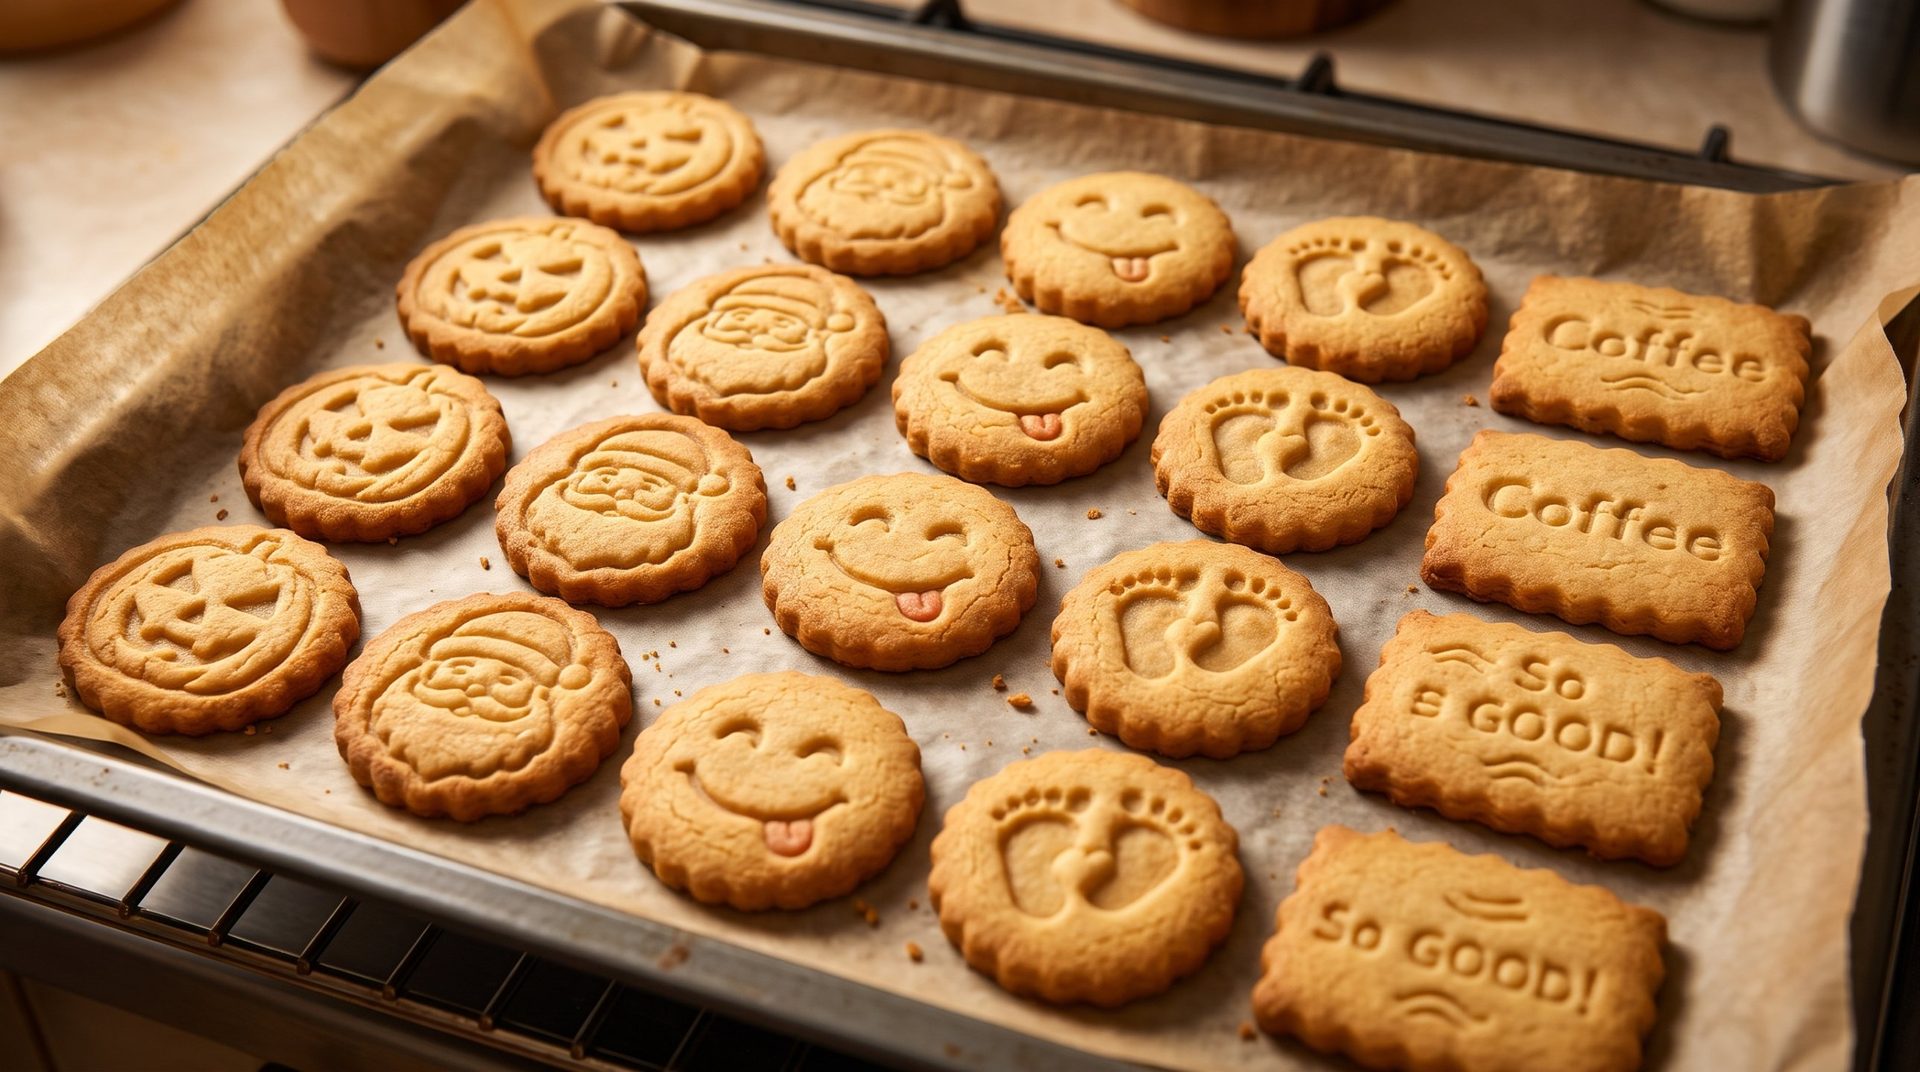
Whether you're throwing a birthday party, preparing holiday treats, giving personalized gifts, or adding a unique graphic touch to your weekend baking, 3D pastry and 3D printing make a powerfully creative duo.
Yet many makers hit the same wall: most online models are just simple 2D silhouettes extruded into 3D. Too thick, without a sharp beveled edge, fragile at the joints, or packed with tiny details impossible to unmold—they squash the dough instead of cutting it cleanly.
To expand the toolkit for makers, parents, and creative cooking enthusiasts, we offer a complete collection of cookie cutters and cookie stamps to download 100% free. Designed for FDM printing and built to handle shortbread or pie dough, these models combine rigidity, sharp edges, and effortless unmolding.
Food contact, hygiene, and care: from printer to kitchen
Using 3D-printed tools in the kitchen is very popular, but it raises real hygiene questions. FDM printing has a quirk: the stacking of layers creates countless microscopic grooves. Fat, sugar, flour, and moisture settle into them easily and can encourage bacterial growth if you don't take a few precautions.
To make and use your cookie cutters safely and sustainably, here are the best practices to follow.
1. Choosing your filament and nozzle
- A stainless steel nozzle: standard brass nozzles may contain small amounts of lead added during machining. For food-contact objects, install a stainless steel nozzle (304 or 316) reserved for this use. To compare nozzle materials, read our article on brass, hardened steel, ruby, and tungsten carbide.
- Natural PLA or food-contact certified: PLA is biobased (made from corn starch or sugarcane) and stable at room temperature. Choose a natural filament with no glitter or unknown additives, or one certified to comply with EU regulation (EC) No. 1935/2004 and regulation (EU) No. 10/2011 on plastics, or FDA requirements.
- PETG as an alternative: less moisture-sensitive and less brittle than PLA, it's chemically very stable and tolerates slightly hotter wash water.
2. The plastic wrap trick: zero contact, perfect unmolding
This is the technique used by many pastry chefs and caterers:
- Roll out your dough to the desired thickness on a floured work surface.
- Lay a sheet of plastic wrap over the entire surface of the raw dough.
- Press your cookie cutter and push firmly through the wrap.
Three immediate advantages:
- Zero contact: the printed plastic never touches the dough.
- A rounded edge: the wrap softens the cookie's edge and gives it a nice domed look, very professional.
- Quick cleanup: the cookie cutter stays clean, with no dough stuck in the corners.
3. Washing and storage: keeping your plastic in shape
If your cookie cutters touch the dough directly:
- Hand wash in warm water (below 40 °C): with dish soap and a soft brush to dislodge residue trapped between layers.
- Never in the dishwasher: PLA softens at 55 to 60 °C. Even one wash or dry cycle can permanently warp your cutters.
- Air dry completely: let them dry on a clean dish rack in a well-ventilated spot before storing in a dust-free place.
4. The baker's secret: ice-cold dough
A perfect cookie depends not just on the cutter, but also on dough consistency when cutting:
- Very cold dough: warm butter dough sticks to the edges and tears when unmolding. Refrigerate rolled dough for 30 to 45 minutes (or 10 minutes in the freezer) before cutting.
- A dust of flour or cornstarch: before each cut, dip the edges and details into a small bowl of cornstarch or sifted flour, then tap off the excess. The unmold is clean, without changing the cookie's texture during baking.
Happy baking!
With a proper nozzle, food-safe filament, the plastic wrap trick, and cold dough, your 3D-printed cookie cutters become true kitchen tools—reliable and reusable. For step-by-step printing settings, follow our guide on printing your own cookie cutters for free. Have a specific shape in mind? We can also create a custom cookie cutter just for you.