How to Print Your Own Shoes at Home on a 3D Printer
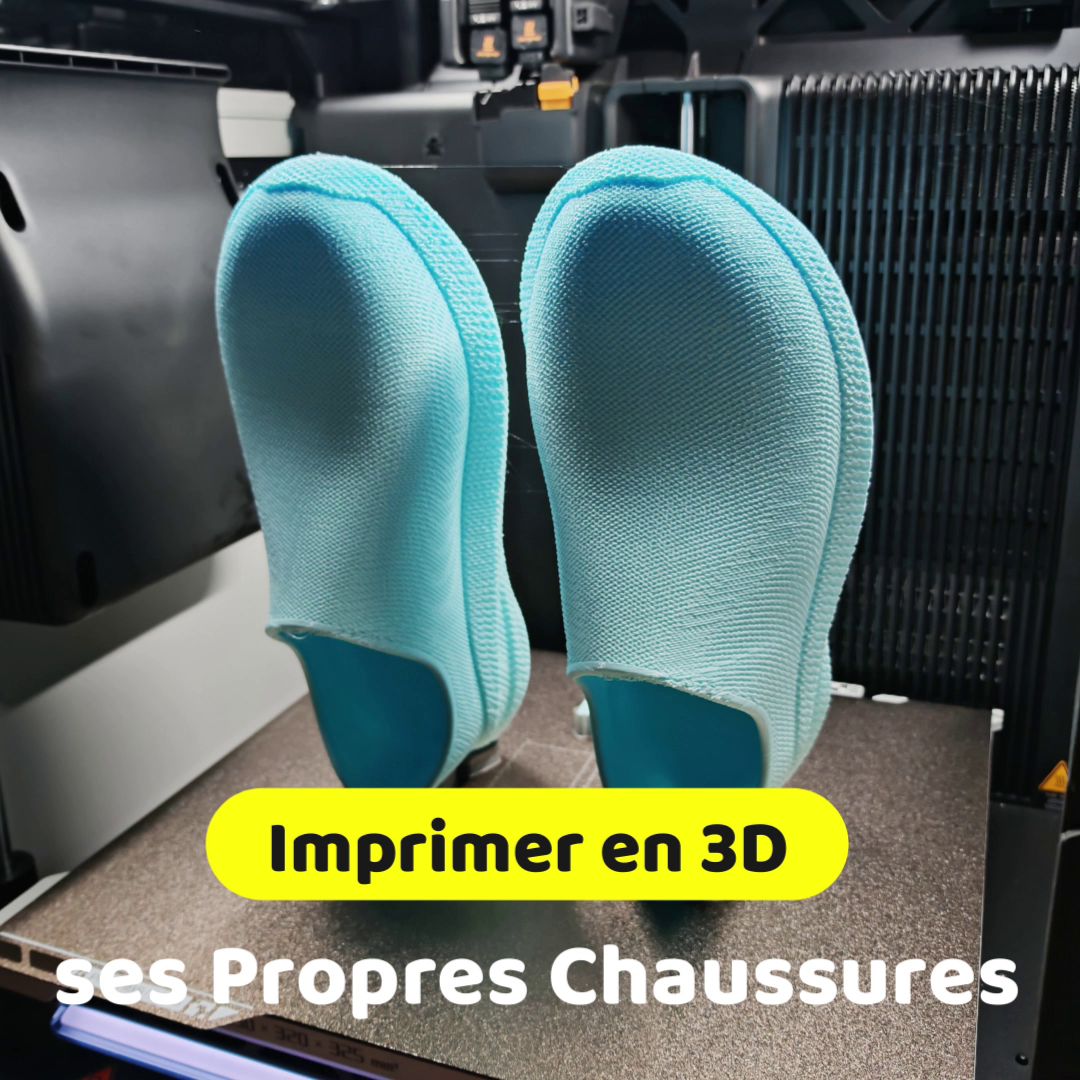
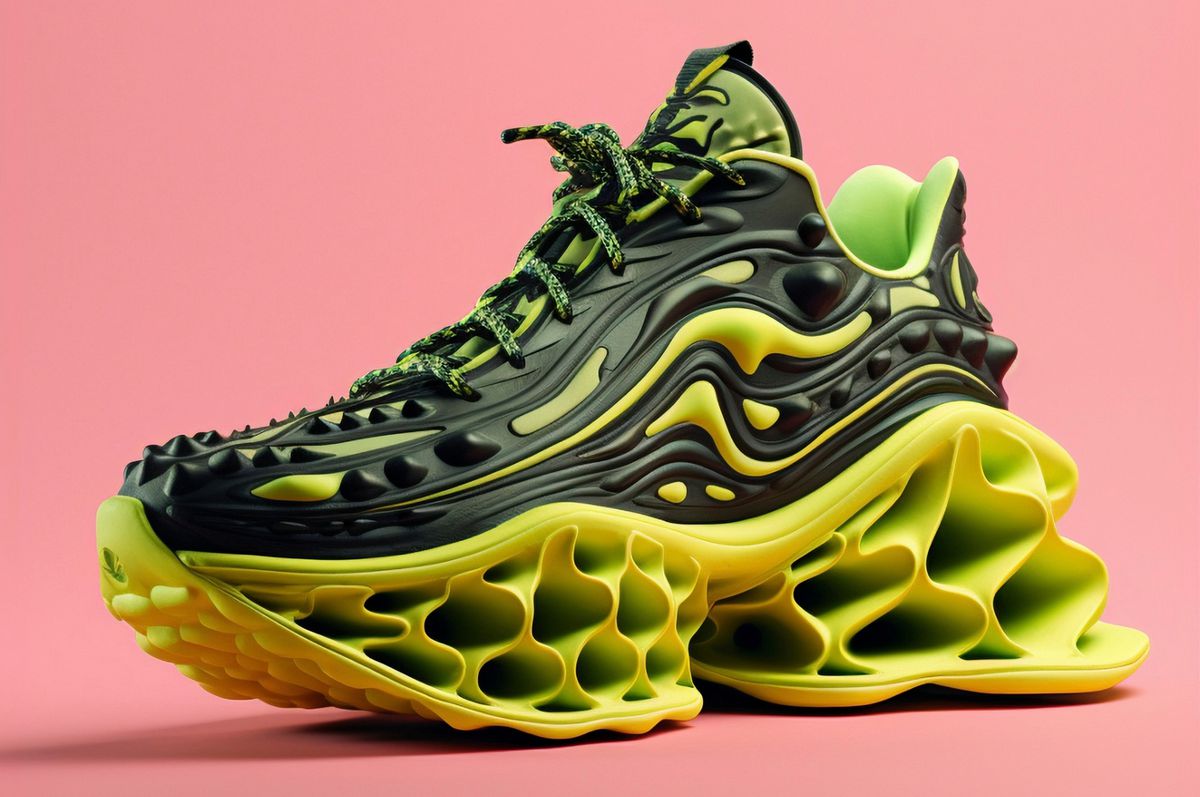
Printing an entire shoe at home is now a reality! While major brands use expensive industrial printers (SLA, SLS, or MJF), makers can achieve impressive results, especially for casual shoes, comfort footwear, or custom insoles, using their own desktop FDM (fused filament deposition) printer.
Here's the step-by-step guide to print functional shoes.

(Image and 3D File Source: DjangoCashflow via MakerWorld)
Step 1: Choosing the Right Flexible Material
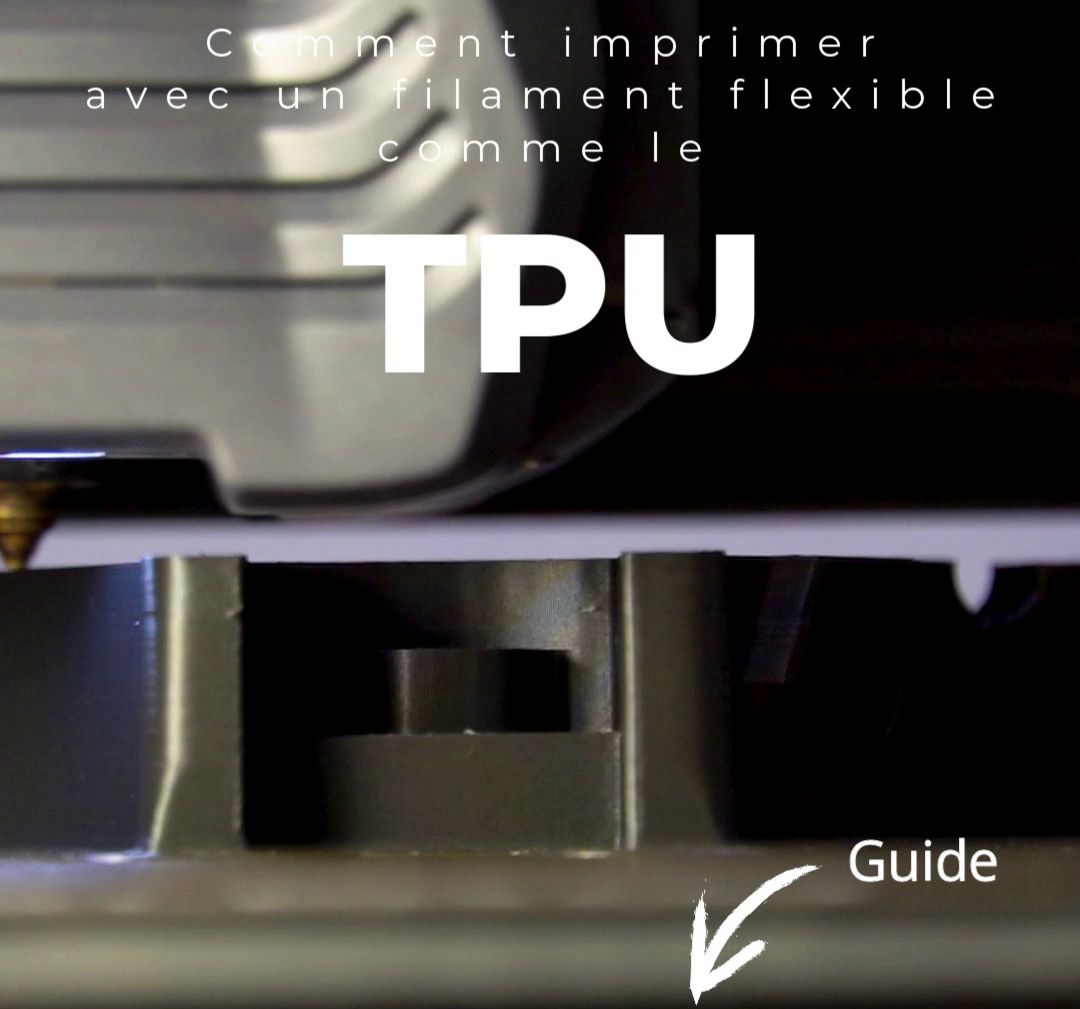
A shoe must be comfortable, meaning flexible and elastic. Skip rigid PLA or PETG; success depends on using a flexible filament.

Expert Tip for TPU Printing:
Printing flexible filaments is challenging.
- Speed: Print slowly ( to ). Flexible filament jams easily in the extruder if pushed too fast.
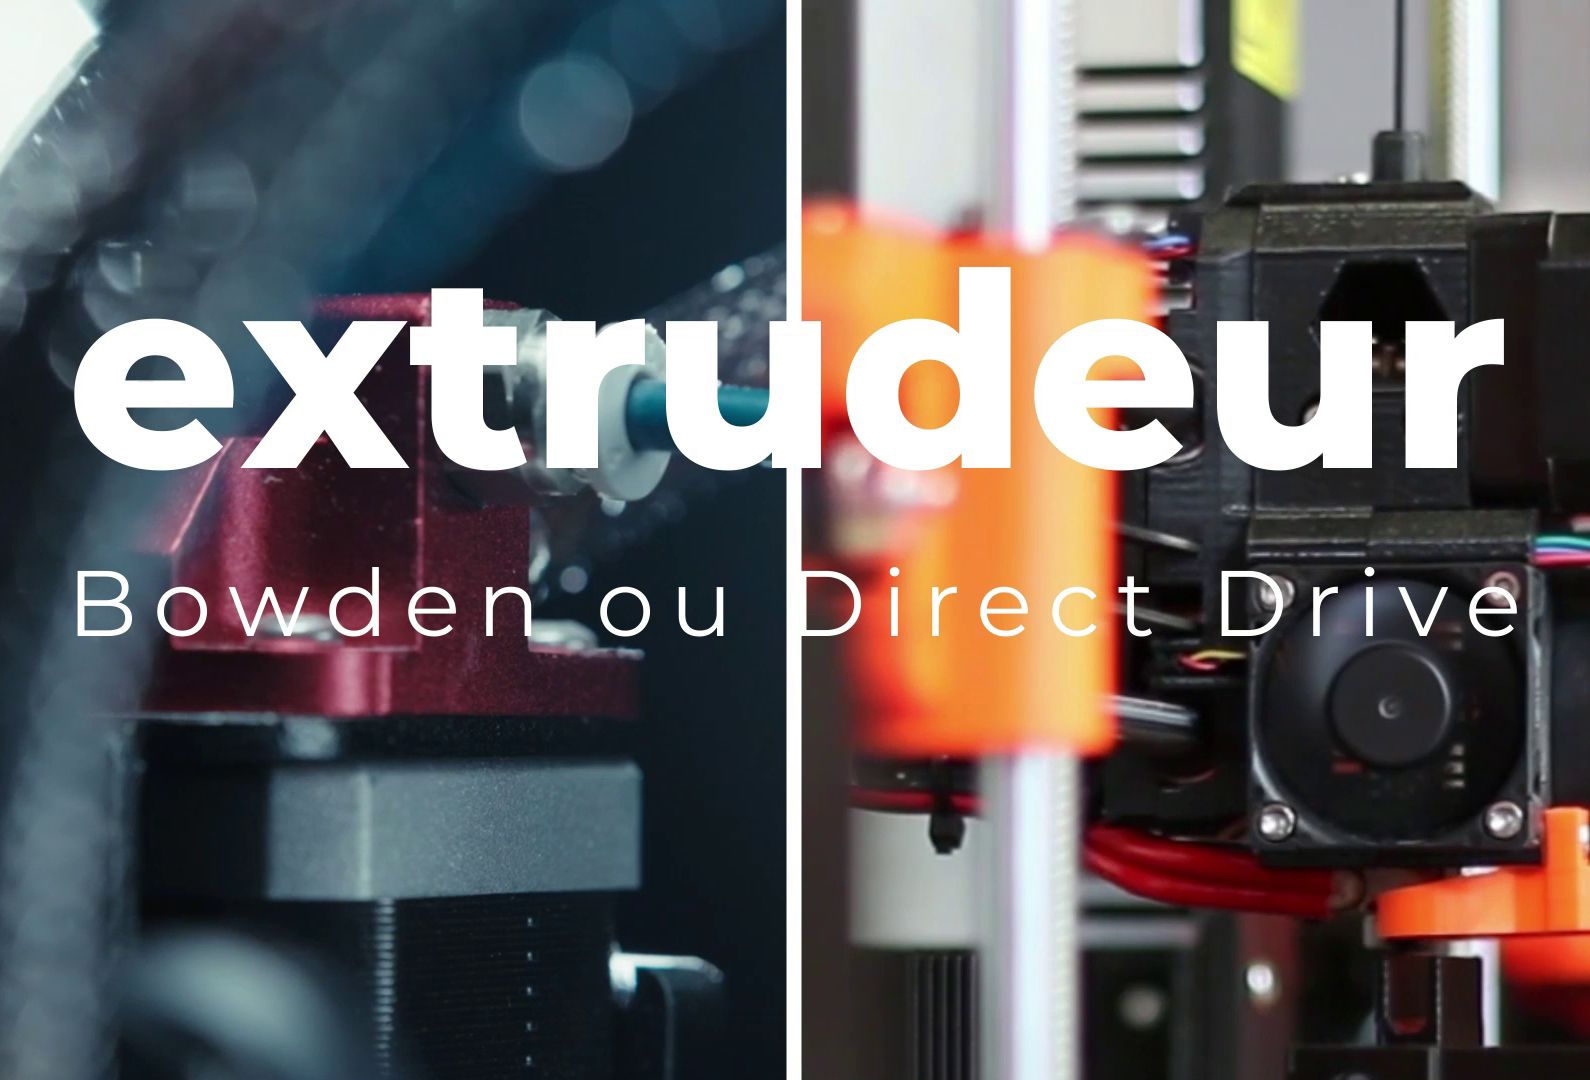
- Extruder: A direct drive extruder is strongly recommended over Bowden, since the filament has a shorter path to the nozzle, minimizing jamming or grinding risk.
Step 2: Getting the Model (3D File)
You have two options for obtaining STL files:
A. Ready-to-Print Models (Easiest)
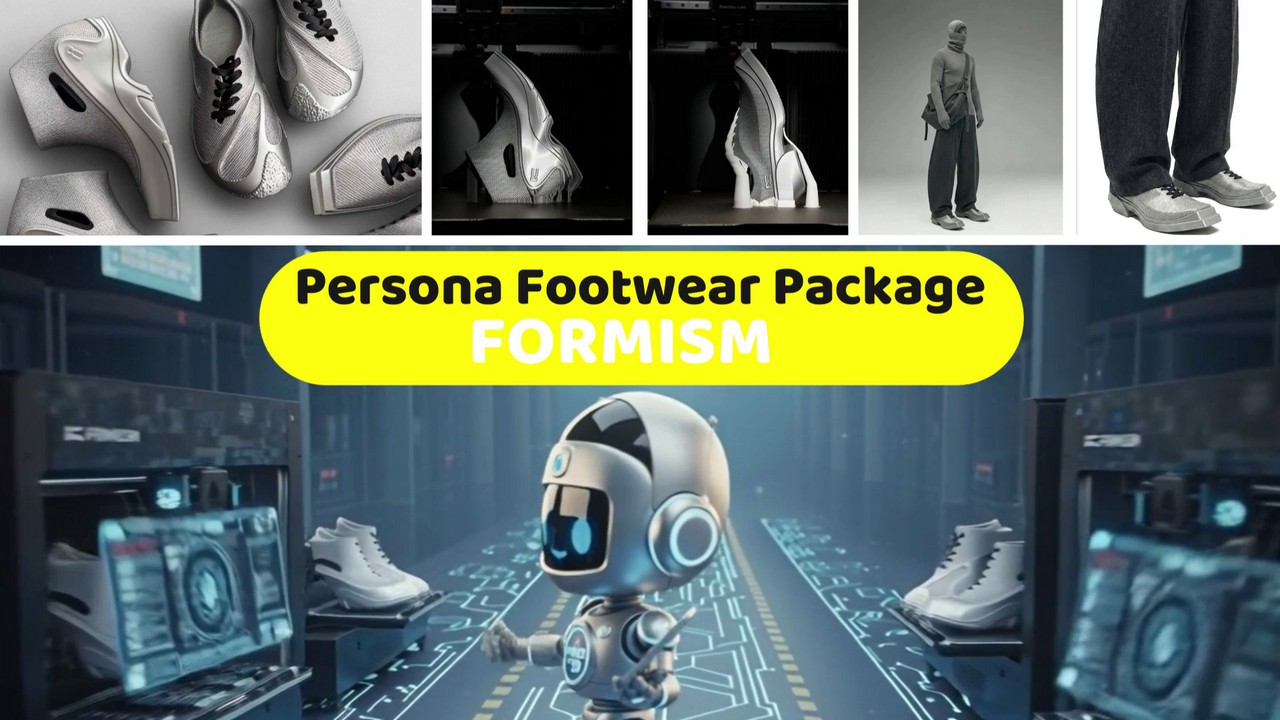
Many designers offer shoe, sandal, and complete insole models on community platforms (MakerWorld, Thingiverse, Cults3D).
- Sizing: These models often come with a scale conversion chart. Scale the model (for example, to or ) in your slicer software to match your shoe size.
B. Custom Design (Advanced)
For a perfectly fitted insole:
- Scan your foot: Use a 3D scanner, or more simply, a 3D scanning mobile app (available on recent smartphones) to capture your foot's shape.
- CAD Software: Import the scan into CAD software (like Fusion or Blender) to design the midsole and structure around it.
Step 3: Slicing and Printing
Slicer software settings are key to comfort.

Final Tip
It's strongly recommended to print both shoes separately to avoid shrinkage issues or failures that could ruin a 48-hour print. Once printed, let them cool, carefully remove any remaining supports (if any), and add traditional laces if the design includes them.