3D Printed Christmas Decoration Ideas 🎄🎅
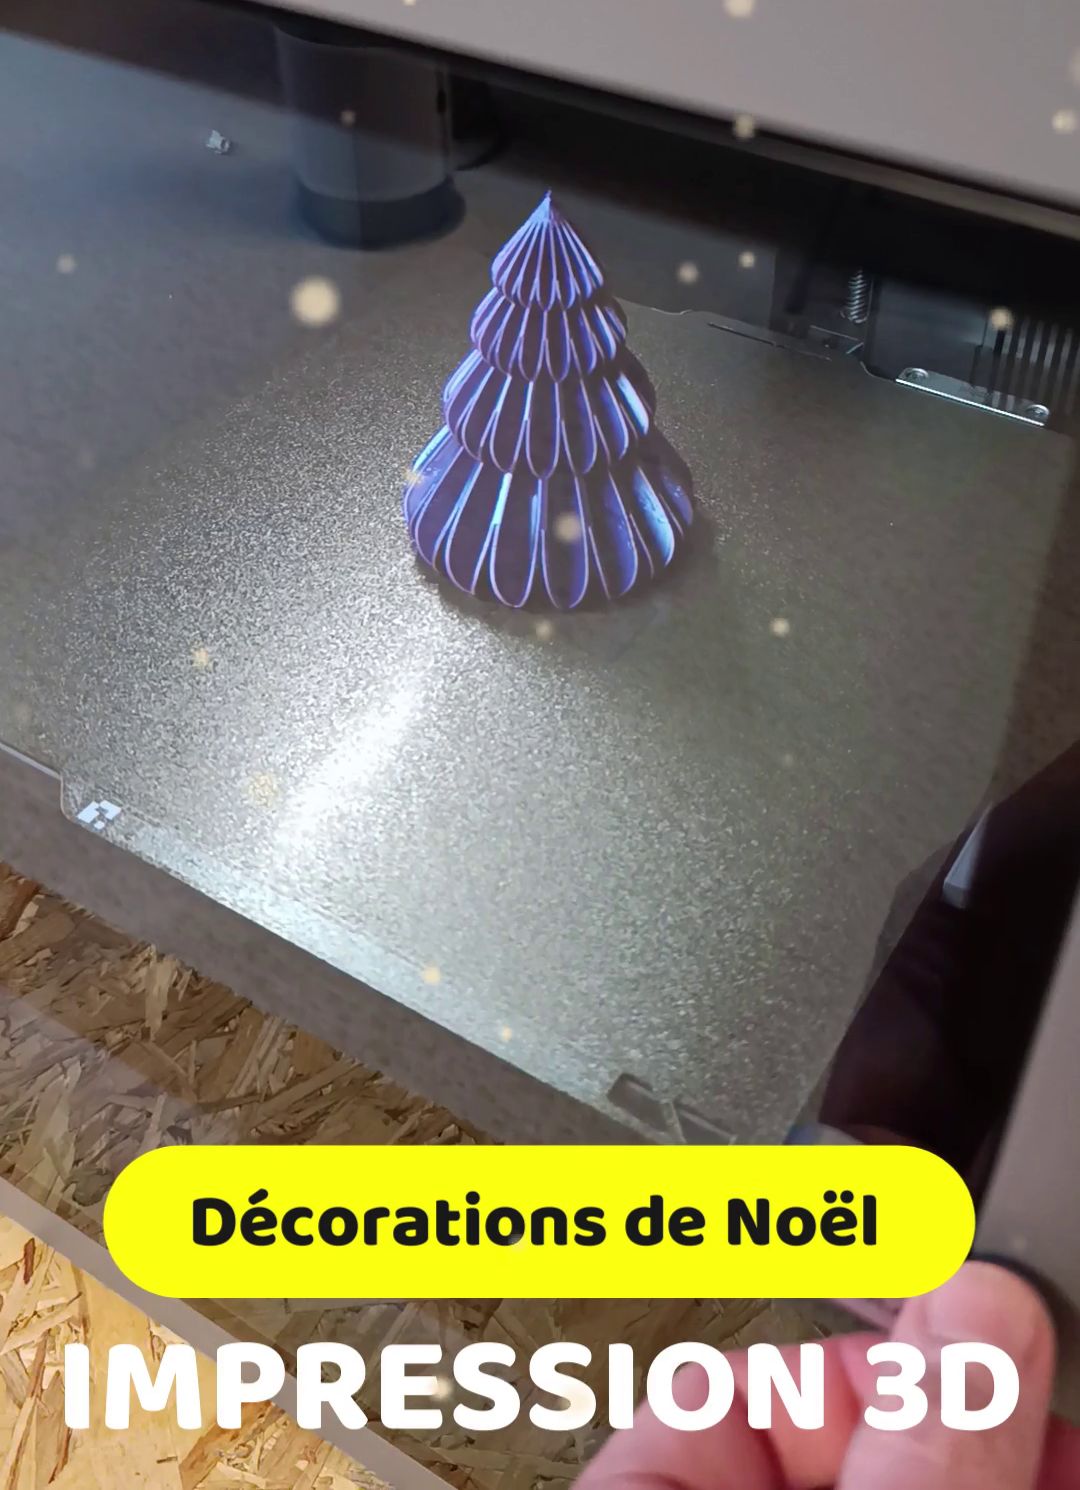
Making Christmas decorations with 3D printing is an excellent way to create personalized, unique, and durable ornaments. It's a very popular project in the maker community during the holidays. 🎄

(3D File Source: Name Cantbeblank via MakerWorld)
A Few Ideas:
3D printing allows for a wide variety of creations to decorate your home, tree, or table:
- Tree Ornaments:
- Personalized Baubles: Print baubles with intricate patterns, snowflakes, or even family members' names in relief.
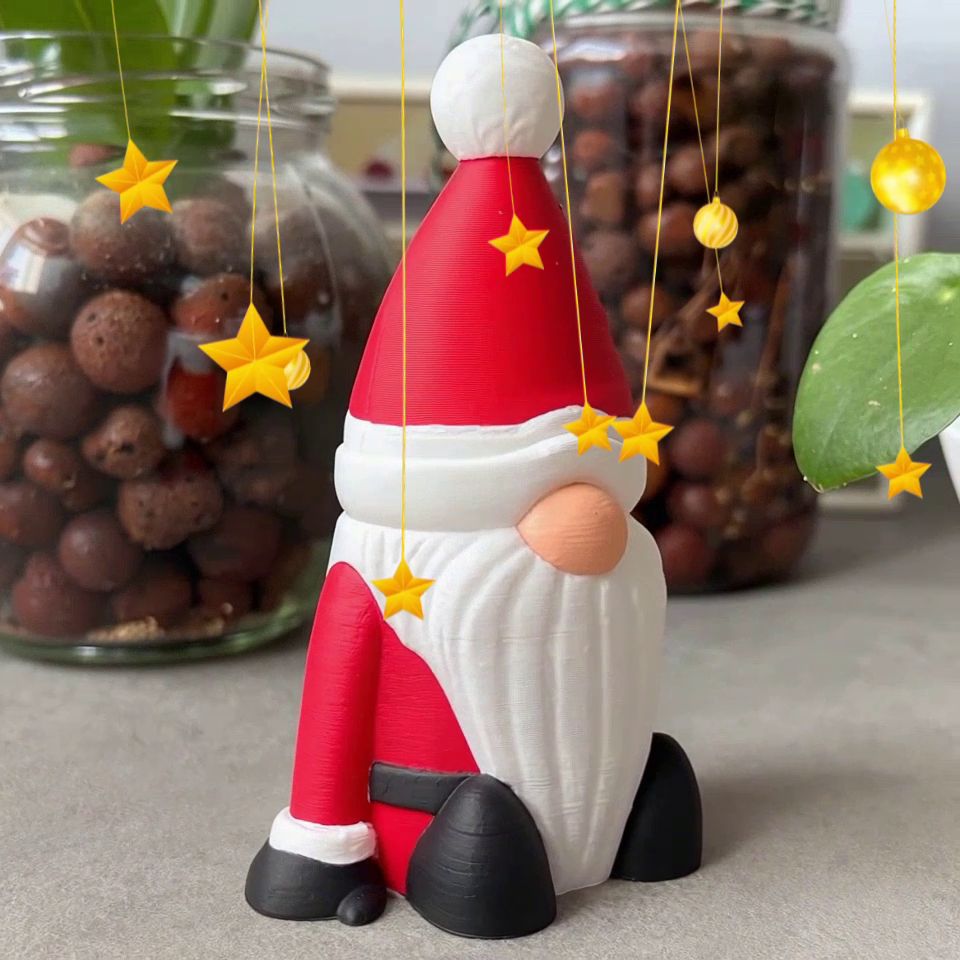
- Themed Pendants: Stars, snowflakes (often the first 3D objects printed by beginners!), little reindeer, snowmen, or Santa Clauses.
- Light-Up Decorations:
- LED Housings: Create cases or covers for string lights to diffuse light as stars or little houses.
- Candle Holders: Print elegant stands for LED candles (safety first—always use LEDs with plastic).
- Festive Utility Items:
- Cookie Cutters: The most popular item! Print custom cookie cutters (trees, stars, candy canes, etc.) for your Christmas cookies.
- Table Decorations: Print themed napkin rings or personalized place cards for your holiday dinner.
- Advent Calendar: Print little boxes or drawers to create a custom Advent calendar.
Technical Tips for Perfect Decorations
Print quality is crucial for ornaments to look beautiful and durable:
- Material: PLA is the ideal choice. It's easy to print, rigid, and offers a wide range of colors, including shiny, glitter, and transparent filaments.
- Colors:
- Use classic holiday colors: Red, Emerald Green, Gold, Silver, and Snow White.
- Transparent or translucent PLA works wonderfully for baubles and decorations meant to be lit up.
- Print Speed: For detailed ornaments (like complex snowflakes), reduce print speed (30–45 mm/s) to ensure fine detail quality.
- Infill: Most ornaments are purely decorative and don't need mechanical strength. You can use low infill (5–15%) or even spiral infill (Vase Mode) for baubles and cones to save time and material.
Post-Processing and Customization
Even basic PLA can be transformed for a festive effect:
- Paint: Use acrylic paint (gold, silver, or sparkling white) to cover your prints.
- Sparkle: Once paint is dry, add spray adhesive and sprinkle fine glitter before sealing with varnish.
- Finish: For smooth pieces, a matte or glossy clear coat can hide layer lines and give a more "polished" look.